Everyone wants to gift their Beloved with something new, unusual, and unique on Valentines Day. With this in mind – for our next craft market on the Sunday before Valentines Day I decided on this Valentines Day Craft project – to make a few matching Valentines heart pendants.
Follow along as I handcraft these Valentines Day Craft project heart pendants out of scrap I have lying around.
In short, I have made 10 half-hearts – to make 5 matching pairs.
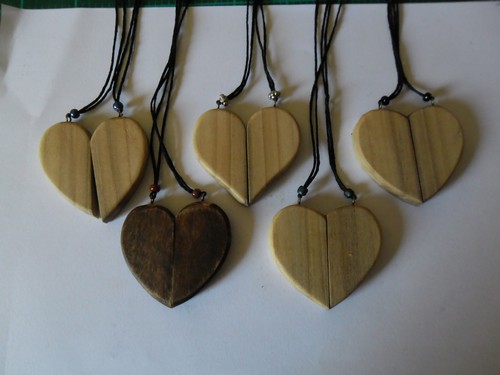
5 Valentines Day Heart Pendants
I am not going to provide patterns – this is pretty much a free-hand free-thinking exercise. Use wood of any thickness. Shape it as you want. Finish it off in your own way.
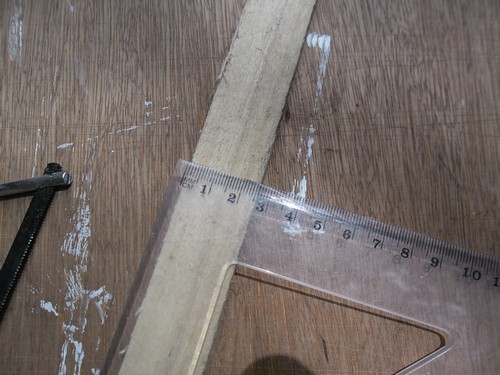
The piece of wood I started with for the Valentines Day Heart craft project
I started with the wood. I had a piece of wood about 30mm wide, 8mm thick, and almost a metre long.
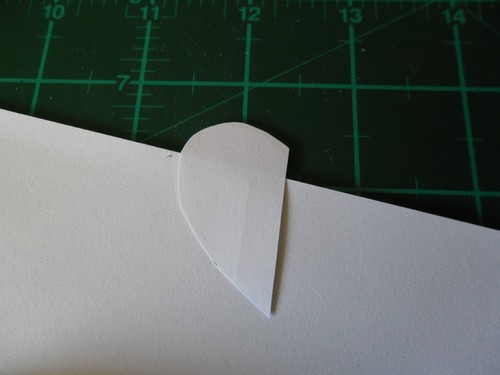
The “half-heart” template
After sanding the 4 sides, I cut a paper half-heart template which I traced around onto the wood.
After cutting the half-heart more or less to shape with a saw I sanded the shape down to the lines.
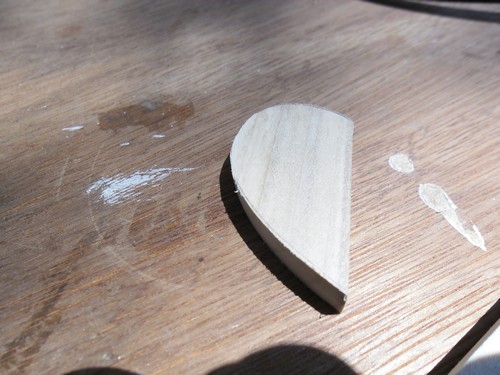
The first “half-heart” – used as a pattern for the rest
With a firmer, stronger template than a scrap of paper I now traced the shape onto the length of wood.
I traced the “pairs” point-to-point, to get the grain to mirror on each side. This didn’t work perfectly, but did work well enough.
Starting to mark out the “half-hearts”
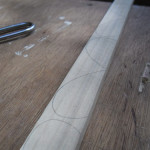
The “half-hearts” all marked
I cut each half-heart from the length of wood, then shaped each pair. If you study the photos you will see that each heart is different to the others.
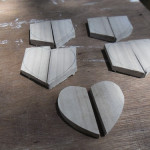
Rough cutting done, and shaping started
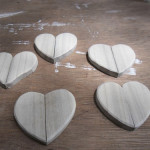
Basic shaping complete
After the rough sanding I hand sanded each piece to take off sharp edges on the front outer edge. I also gave the flat surfaces – front, back, and inside face – a few strokes on the sandpaper, in the direction of the grain to remove as many sanding marks as possible. After this I used a fine sandpaper to get a really smooth finish.
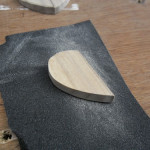
Flatting the flat surfaces to remove sanding marks left by the initial sanding
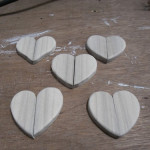
Sanding of the “half-hearts” completed
I now drilled 1mm holes into the top of each half-heart, inserted an eye-pin, and gave each eye-pin a drop of cyano-acrylate to secure it.
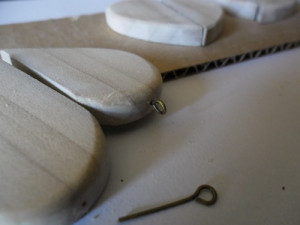
Inserting the eye-pins to the tops of the “half-hearts”
The finish on each heart pair is liquid wood wax. On one of the hearts I applied a dark brown stain, then rubbed it over with fine sandpaper to scuff it up a bit. Over the stain I applied the liquid wood wax. I did not apply any stain or wood wax to the inside faces.
1mm Black braided cord was used to hang the pendants from. Each heart got a matching pair of beads, before I tied a single sliding knot on the cord.
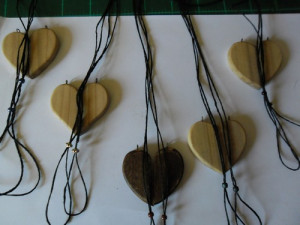
Liquid wax and stain applied – ready to add the cords
The inside face is there for the couple to write their names, and give a coat of clear nail varnish.
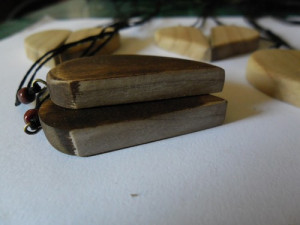
The inside face showing the writing area
Have fun – let your imagination take you where it leads!
© copyright Tony Flanigan 2017

