Make a leather book cover
Follow along as we make a simple leather book cover. For this leather book cover we will be making a cover for an A6 size hard cover book. Using a book cover – especially if you use it in a high wear and tear environment will significantly improve the lifetime of your book. If you aren’t in a high wear and tear environment, just having a good looking book cover is worth it!

Leather book cover completed
The simple leather book cover is just that – a really easy to make book cover. You will need a piece of leather, something to make holes with (neat holes), and some thickish cord.
Lets get started with our leather book cover
Make a template for your leather notebook cover from paper or card.
Start with a rectangle of 230mm by 160mm. Find the centre of the long edge (115mm), and mark it top and bottom. Join the lines lightly, and then measure 4mm to the left of the centre line, and 4mm to the right of the centre line. Mark these lines heavily, parallel to the centre line.
On the left line, find the centre from top to bottom (80mm). From the centre mark, measure 70mm up, and 70mm down, then do the same on the right line. You will now have 6 marks – 2 near the top, 2 in the centre, and 2 near the bottom.
Your template is now done.
Use your template to mark and cut your leather to size.
Put a piece of masking tape on the vertical centre of your piece of leather, and use your template to poke holes into the masking tape. The masking tape makes it easy to see your marks.
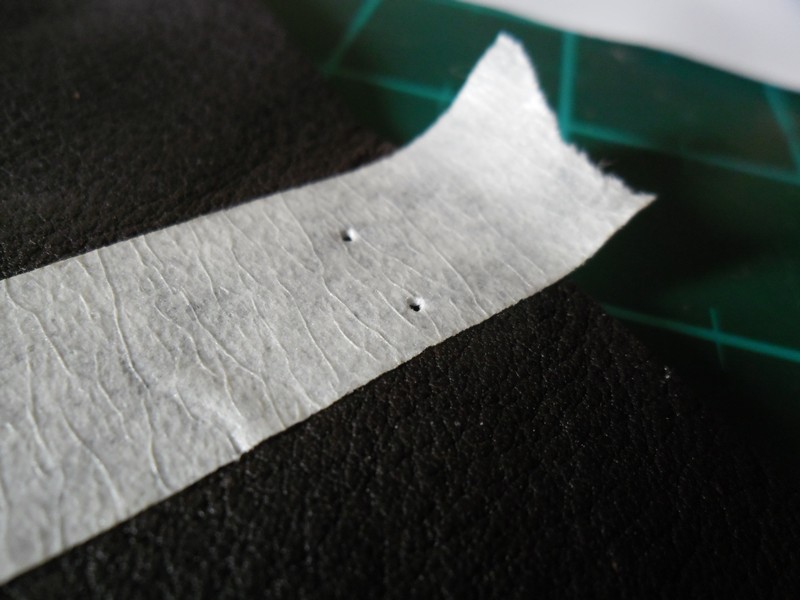
leather book cover – markings on the masking tape
Now make 6 holes, with a 3mm hole punch. If you do not have a hole punch make a hole with a large nail.
Now mark leather for 2 sliders, and a tab. You can use the same leather you used for your notebook cover. I used a piece of 3mm natural hide to take advantage of the stiffness. Punch 2 3mm holes into the 2 sliders, and a 1mm hole into the tab.
At this point I finish my leather – usually a layer or 2 of polish. On occasion I will distress the leather with sandpaper, then give it a layer or few of clear polish.
After that I put in the cord used to hold the book in place. With your notebook cover open – the fuzzy side facing you – take your cord from the outside of the notebook, into the top left hole. Pull it through and pass it from the inside to the outside of the bottom left hole. Now cross over to the bottom right hole, and pass your cord to the inside. Up to the top, and out of the top right hole.
Your other cord will go through the 2 centre holes – from the outside in, and then back out of the other hole. The center (horizontal) cord must not cross the other (vertical) cord.
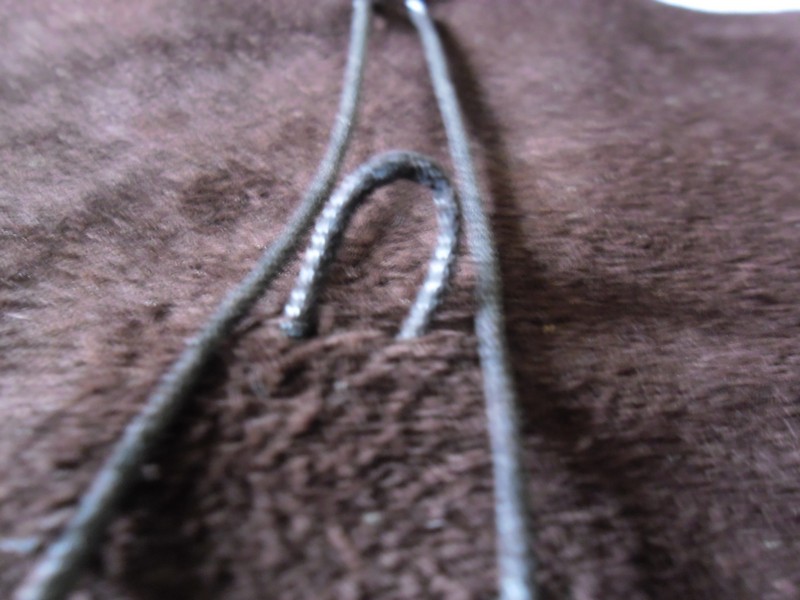
leather book cover – the horizontal cord oes NOT cross over the vertical cords
Bring the ends of your horizontal cord together, and pass them through the holes in one of the sliders.
Bring the ends of your vertical cords together, and pass them through the holes of the other slider.
Now pass the right hand vertical cord through the hole in the tab.
To finish your simple notebook cover adjust the horizontal cord so that you can slip it off the top or bottom corner of your notebook cover. Tie a knot in each of the cord ends, and cut the tails of the cord off.
Your vertical cord is adjusted as follows – loosely measure your cord so that it is at least 30mm more than than 3 times the height of the cover. Tie knots in the ends of the cord, and cut the tails off.
Slip your notebook covers between the leather cover and vertical cords, then adjust the vertical cord so that the left cord knot is against the slider. Keep a bit of tension on the cord, and pull it upward – through the top right hole, and through the slider. Keep the slider close to the top of the cover. Pull the tab up against the knot on the right hand side of the cord. This is a built in bookmark.
Admire your simple leather book cover, and show it to your friends – but be prepared to make more, as your friends will want leather book covers as well.
If you don’t want to make your own leather book cover, get one from us – drop us a line from our contact page. At just R60 each for an A6 notebook cover it’s almost not worth your time to make them!